

To get detailed help please click on one of the following topics. You can also scroll though the list to find new features and learn more about the budget planning tool MyMicroBalance.
First Steps
Analysis
Main User Interface
This page explains the most important areas of the MyMicroBalance user interface. It helps you add receipts and expenditures, edit entries, and quickly find the functions you use in everyday budget planning.
The Main Menu contains the functions that you will use most often while working with your Balance Sheet.
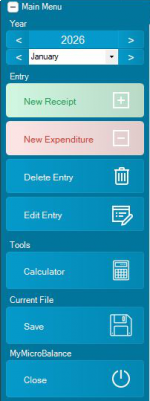
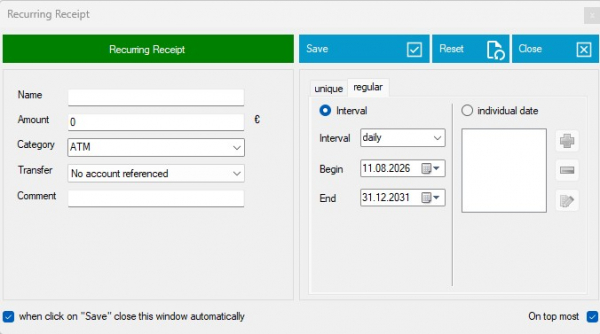
Click New Receipt or New Expenditure to create an entry. Receipts appear on the receipt side of the Balance Sheet and expenditures on the expenditure side. The basic input fields are the same for both entry types.
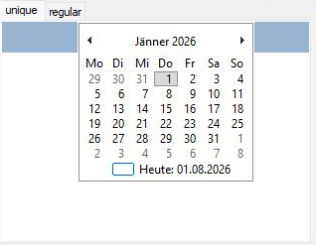
For a one-time entry, choose a specific date. MyMicroBalance automatically assigns the entry to the corresponding month.
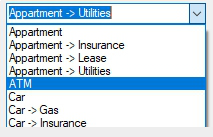
Select an existing category from the list. To create a category quickly, type a new category name into the field. MyMicroBalance then asks whether the category should be created. You can also create, edit, and delete categories in Administration of Categories.
Use the recurring-entry tab to create an interval entry. Choose the interval or individual dates on which the entry should appear, and set the start and end dates.
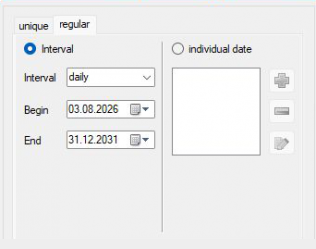
Important: Editing a recurring entry affects the complete Balance Sheet. For example, if you change its amount after several months, MyMicroBalance also changes the corresponding entries in earlier months. When a regular payment changes, create a new recurring entry for the new amount instead.
If you created additional columns in Column Property Management, they also appear in the new-entry dialog. You can replace their defined default values with individual values while entering a booking.
Use Show Smart-Checks in the Balance Sheet to show or hide the notes and analyses at the bottom. Clear the checkbox to give the receipt and expenditure lists more space. See Budget Planner Main Window for details.
Select an entry in the Balance Sheet and click Edit Entry to change it. Click Save to apply the changes or Close to leave the dialog without applying them.
You can convert a one-time entry into a recurring entry and vice versa. Be careful when converting a recurring entry into a one-time entry: all entries in that series except the selected date are removed.
To delete an entry, select it and click Delete Entry. Deleting an interval entry removes every associated occurrence from all months.
Many commands for creating, editing, deleting, copying, and pasting entries are also available under Entry in the ribbon. You can also right-click an entry to open the context menu directly at the selected booking.
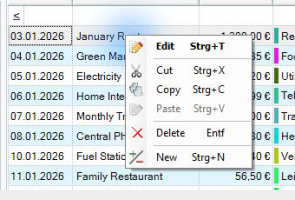
Important when copying and pasting: the copied entry keeps its original date. It is therefore first inserted in the same period as the source entry. Change the date afterwards if the copied entry belongs to another period.



 1
1 2
2 3
3 4
4